Reapit Foundations Setup
How Can We Help?
To use Reapit foundations with WP Property Feed you will need to set up a private app in the Reapit developer portal. We would have liked to have offered a direct integration but the costs of becoming part of the Reapit developer network are to great (£1500+ per annum) to make it viable for our little plugin. However fear not by following this guide you can quickly get set up and use the Reapit API with our plugin.
- Create a reapit developer account. We would strongly recommend that you get the Estate Agent to do this (if you are developer/web designer) as there are some small usage fees attached to the account (we estimate less than £5 per month for an agency with up to 300 properties). To set up an account visit https://developers.reapit.cloud/login and create a new account.
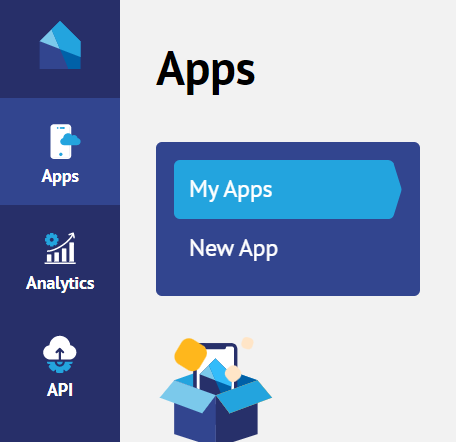
- Create an App. Once you have created your developer account you will need to create an App which is your means of connecting to your property data in Reapit. When you login to your reapit developer account you will see the menu below, select “New App”
You will be presenting with the option “What do you want to do today?” and should select “Create an External Web Application” and click “Next”. You will then be asked “What kind of app are you building?” and should select “Server Side Integration” and “Next”. Finally you will set “Permissions” and be presented with a search box. Use this to select the below permissions then click “Create App”- Read Properties
- Read Property Images
- Read documents
- Read Offices
- App Details: Once this is done you will be landed onto the “App Details” screen. You can get back to this screen at anytime via the developer portal and you will need the “Authentication Client Id” and “Authentication Client Secret” values to enter into the WP Property feed plugin later.
- Edit App: To use this app you will need to make some edits and then submit the app for approval. The first thing to change are the permissions by clicking the “permissions” tab on the “Edit App” page.
- Permissions: Scroll to the bottom of the permissions page and change the “Private App” setting to “Yes”. Then in the “Private App Client Ids” add the Id for your agency, see https://foundations-documentation.reapit.cloud/faqs for how to find this. Remeber to click “Save Changes” at the bottom of the Apps menu on the left.
- AppMarket Listing: Next click the “AppMarket Listing” tab and fill in this form. You will need to provide all the details appart from the Videos and images apart from a logo and featured image which must be supplied. Remember only your agency will ever see this because it’s a private app so none of this is public. Remember to “Save Changes”. Once you have entered all the mandatory information you will see a “Submit Review” in the Apps menu. Click this and you will most like be presented with a message to contact a team member, this is so that Reapit can set up the necessary billing details for the usage charges. Follow the instructions given
- Submit for Approval: Once you have been setup by Reapit you will have the option to “Submit for Approval” on this edit screen which you should do. Approval normally happens within hours or days at most of submitting the app.
- Install the App: Once the app is approved you (the estate agency whose client ID we added to the app) should be able to install the App from the App Marketplace in their normal Reapit Login (i.e. not the developer login). Find the approved app and install it! Once that is done you should be able to see this has been done in the developer portal under “Apps” > “Installation”. Make a note of the “Reapit Customer Code” along with the “Authentication Client Id” and “Authentication Client Secret” which can be found on the “App Details” page.
- Setup WP Property Feed Plugin: In your WordPress site where you have our plugin installed, go to the WPPF settings and select “Reapit Foundation” then enter the values you recorded above and “Save Changes”. That’s it, all done, you should now be downloading properties. It does take a little while for the first download to happen so visit back in 15-20 mins and if there is still nothing tick the “Force Property Refresh” and “Save Changes” again.